Make the Glaze:
In a medium bowl, whisk together the confectioners’ sugar, milk, corn syrup, and extract. Gradually add more milk, one teaspoon at a time, until the glaze reaches the consistency of thick honey. It should be smooth enough to drizzle but settle evenly. This consistency is key for creating a smooth, shiny finish on the cookies.
Prepare the Colors:
Spoon the white glaze into small bowls if you want to create different color palettes, or keep it in one wide, shallow bowl for a big, swirled mix. The number of bowls depends on how many colors you want to use. This allows you to customize the color scheme for your cookies.
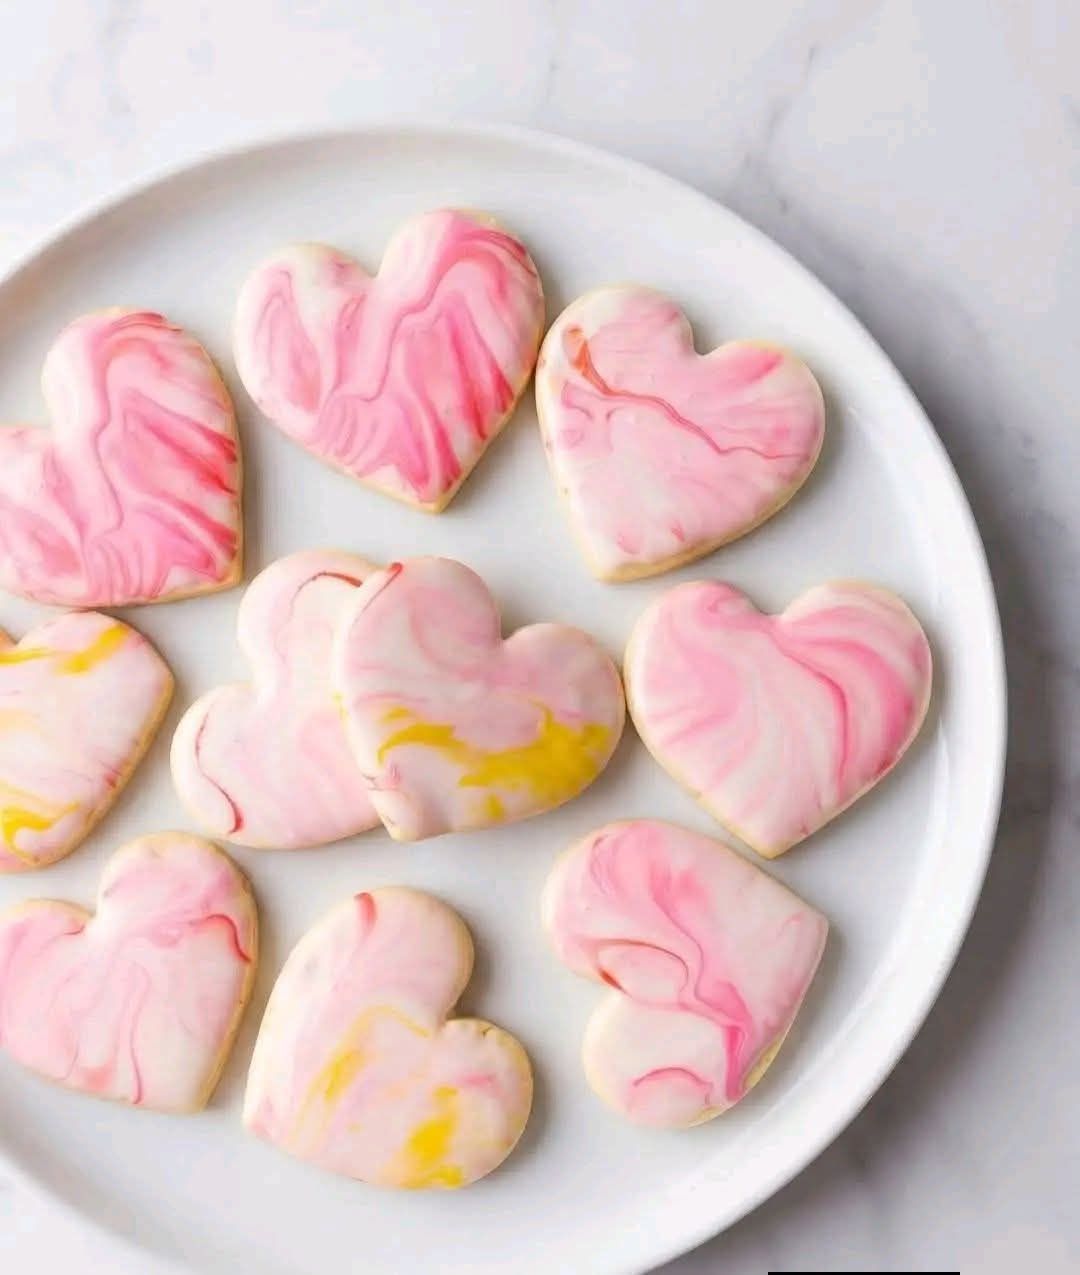
The Swirl:
Dip a toothpick or skewer into your gel food coloring and swirl it gently through the surface of the glaze. Don’t overmix! You want distinct streaks of color in the glaze, not a muddy gray. Stick to 2–3 harmonious colors per bowl for the best tie-dye effect.
The Dip:
Hold a cooled cookie by the edges. Place it face-down onto the surface of the swirled glaze. Do not press too hard; just let the cookie touch the surface of the glaze. This gentle touch allows the glaze to cover the cookie evenly without losing the swirled pattern.
The Reveal:
Lift the cookie straight up and let the excess glaze drip off for a few seconds. Quickly flip it right-side up and give it a gentle jiggle to smooth the icing and let it settle into a shiny coat.
Reset:
If the colors in your glaze bowl become muddy after a few dips, add a fresh drop of coloring and swirl again to restore the vibrancy of the colors.
Dry:
Place the cookies on a wire rack to dry. Let the glaze set for at least 4 hours, or until it forms a hard, shiny shell. This will ensure your tie-dye pattern stays intact and adds a lovely gloss to each cookie.