Mix in the egg, vanilla extract, and milk until well combined. The mixture might look slightly curdled after adding the egg, but that’s normal – it will smooth out.
Make sure everything is fully incorporated before moving to the next step.
5. Combine wet and dry.
Gradually add the flour mixture to the wet ingredients, stirring until just incorporated. Don’t overmix – this can make the cookies tough.
Stop mixing as soon as you don’t see any dry flour streaks. The dough should be soft and slightly sticky.
6. Shape and bake.
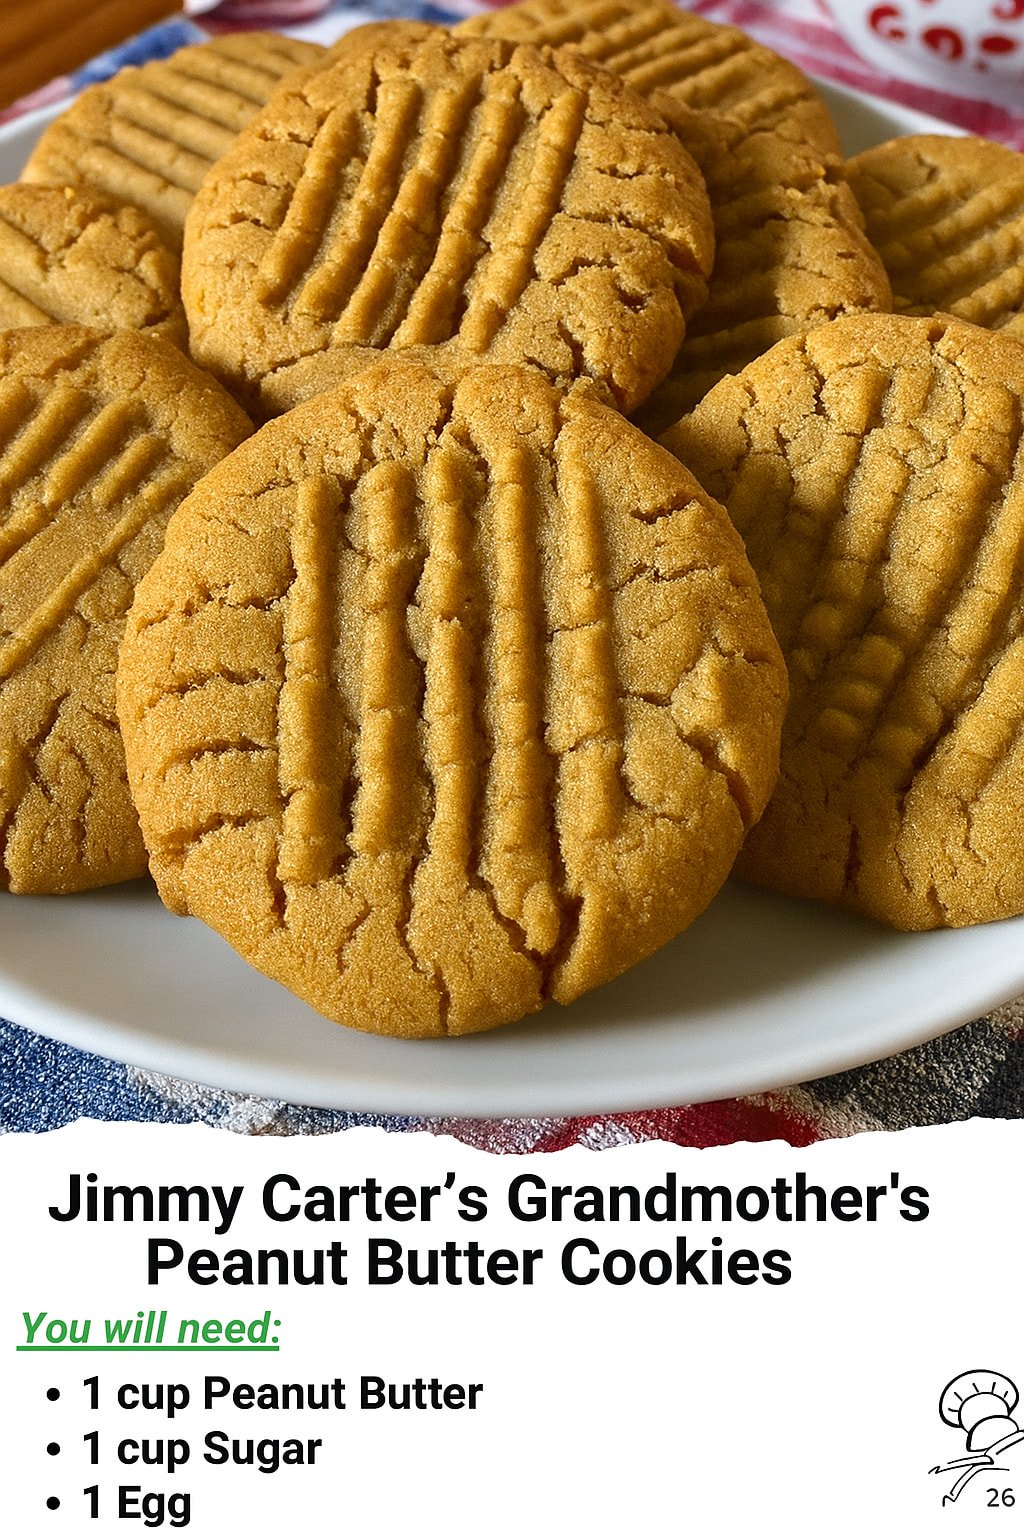
Scoop dough into 1.5-inch balls and place them on your prepared baking sheet, spacing them about 2 inches apart. Press each cookie slightly with a fork in a crisscross pattern – this is the classic peanut butter cookie look.Bake for 10-12 minutes, or until the edges are lightly golden but the centers still look soft and slightly underbaked. They’ll continue cooking on the hot pan after you remove them.
7. Cool properly.
Let the cookies cool on the baking sheet for 5 minutes before transferring to a wire rack. This cooling time on the pan is crucial – it lets them finish cooking without overbaking.
If you try to move them too soon, they might fall apart since they’re still very soft.
Variations to Try
Once you master the basic recipe, there are lots of ways to customize these cookies:
Add chocolate chips or peanut butter chips for extra richness
Roll the dough balls in granulated sugar before baking for a slightly crispier exterior
Press a Hershey’s Kiss into the center of each cookie right after baking
Add a pinch of cinnamon or sea salt to the dough for more complex flavor
Make them into sandwich cookies with peanut butter or chocolate frosting
Use crunchy peanut butter for added texture and nutty bits
Try different extracts like almond or maple for unique flavors
Serving Suggestions
These cookies are perfect on their own with a cold glass of milk – the classic combination that never gets old.
They’re wonderful for lunch boxes, bake sales, or any time you need a treat that travels well. The thick texture means they won’t break apart easily.
For special occasions, arrange them on a nice platter alongside other homemade cookies for a dessert spread that everyone will love.
Try crumbling them over ice cream or using them as the base for a peanut butter cookie crust in bars or cheesecakes.
Storage and Make-Ahead Tips
Store these cookies in an airtight container at room temperature for up to one week. Layer them between parchment paper if you’re stacking them to prevent sticking.
The dough can be made ahead and refrigerated for up to 3 days, or frozen for up to 3 months. If chilling the dough, let it come to room temperature for about 15 minutes before scooping and baking.
You can also freeze the baked cookies for up to 3 months. Just thaw them at room temperature for about an hour before serving.
For extra thick cookies, chill the shaped dough balls for 30 minutes before baking. This prevents them from spreading as much in the oven.
Frequently Asked Questions
Why are my cookies spreading too much?
Make sure your butter isn’t too warm, and check that your baking soda and baking powder are fresh. Old leavening agents can cause cookies to spread instead of rise.
Can I use natural peanut butter?
Yes, but make sure to stir it really well first since natural peanut butter separates. The texture might be slightly different, but the flavor will be more intense.
How do I know when they’re done?
The edges should be lightly golden, but the centers should still look soft and slightly underbaked. They’ll finish cooking on the hot pan as they cool.
Can I make these smaller or larger?
Absolutely! Just adjust the baking time accordingly. Smaller cookies will need about 8-10 minutes, while larger ones might need 12-15 minutes.
What if I don’t have brown sugar?
You can substitute with all granulated sugar, but you’ll lose some of the chewiness and moisture that brown sugar provides. The cookies will be a bit more crispy.
Can I double this recipe?
Yes! This recipe doubles perfectly. Just make sure you have enough baking sheets and oven space, or bake in batches to avoid overcrowding.
