Preheat your oven to 350°F (175°C). Without separating the rolls, carefully slice through the middle of the package to create a top and bottom layer, similar to slicing a loaf of bread. Place the bottom layer in a lightly greased 9×13-inch baking dish, making sure it fits snugly in the dish.
Make the Cheesecake Filling
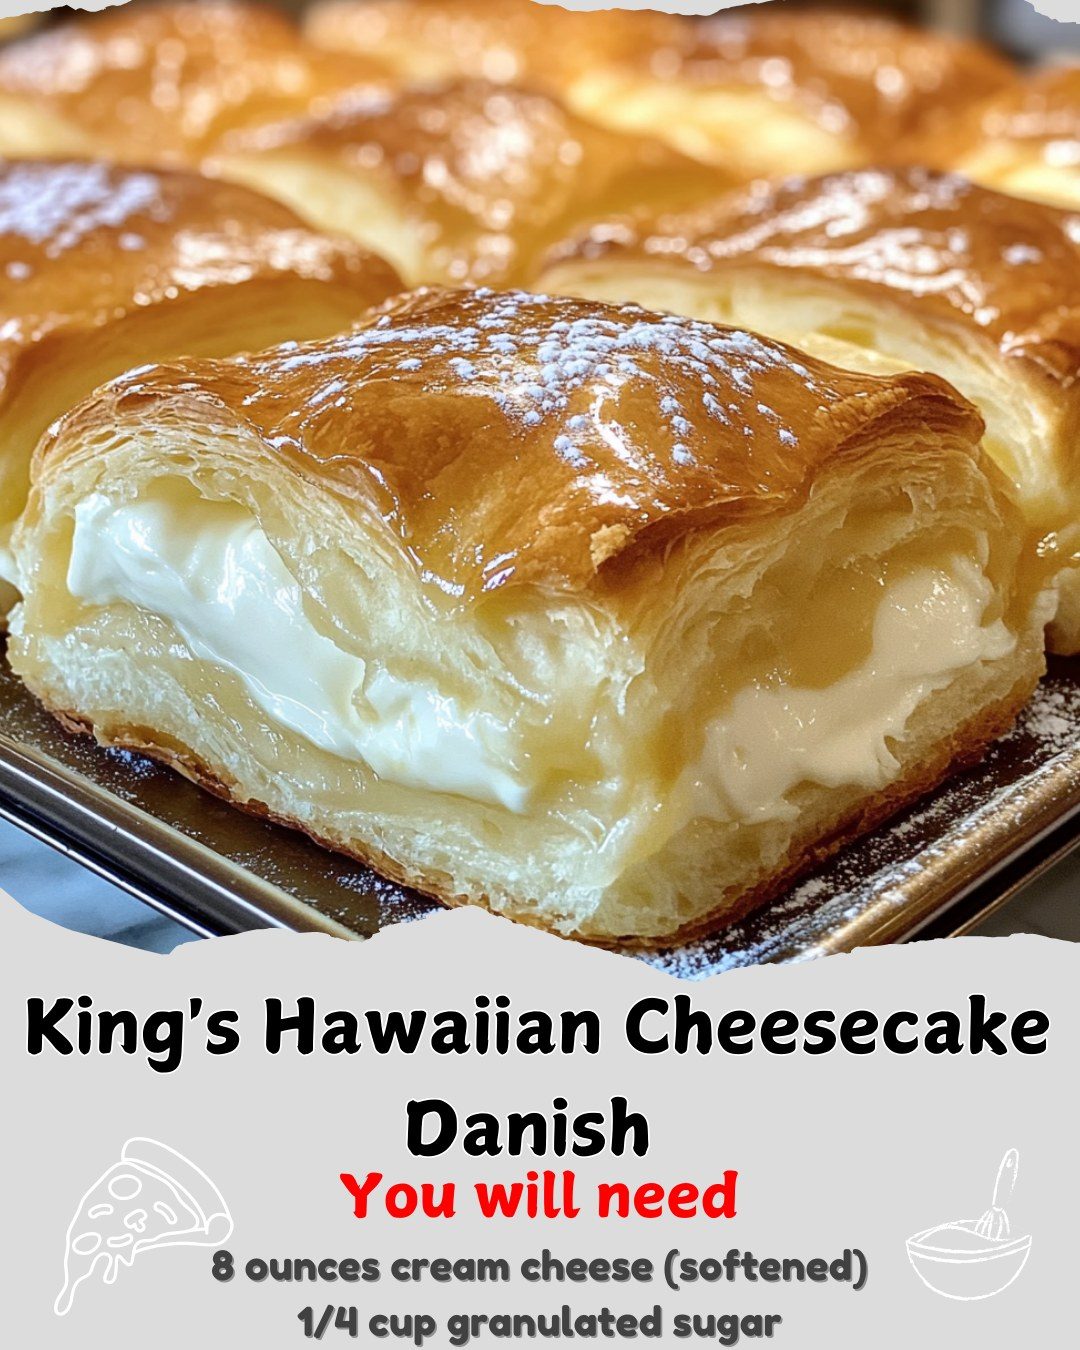
In a medium mixing bowl, beat the softened cream cheese, granulated sugar, vanilla extract, and egg yolk until the mixture is smooth and creamy. You can use an electric mixer for this to achieve a nice, fluffy consistency.
Assemble the Danish
Spread the cream cheese mixture evenly over the bottom layer of the rolls. Be sure to cover the entire surface for a creamy, delicious bite every time.
If desired, dot small spoonfuls of fruit preserves (such as strawberry, apricot, or raspberry) on top of the cream cheese layer for an extra burst of flavor. You can adjust the amount based on your personal preference.
Gently place the top layer of rolls back on top, aligning them with the bottom layer. This will form a sandwich-like structure with the cheesecake filling in the middle.
Bake to Perfection
Cover the baking dish loosely with foil and bake for 15 minutes. This will help the rolls cook evenly without over-browning.
After 15 minutes, remove the foil and continue baking for an additional 10 minutes, or until the tops are golden brown and the filling has set.
Add the Glaze
While the rolls bake, whisk together the powdered sugar and milk in a small bowl until smooth. Once the rolls are done baking, remove them from the oven and drizzle the glaze over the warm rolls. This will create a sweet, glossy finish.
Serve and Enjoy
Let the rolls cool slightly before serving. Pull them apart for individual portions and enjoy either warm or at room temperature. The soft, sweet rolls combined with the creamy filling and glaze make for an irresistible treat!