Make the peppermint filling: In a medium-sized mixing bowl, combine the powdered sugar, softened butter, heavy cream, and peppermint extract. Use a hand mixer or whisk to beat the mixture until it is smooth and creamy. The texture should be thick enough to hold its shape but soft enough to be rolled into a manageable consistency. This creamy mixture is the base for your mint filling, giving it that refreshing peppermint flavor with a soft, melt-in-your-mouth texture.
Shape the mints: Roll the peppermint filling into small, thin rectangles, about 2 inches long. These will be the individual mints. Try to keep the size and shape uniform for even chocolate coating. Once you’ve formed the mints, place them on a parchment-lined baking sheet, making sure they’re spaced slightly apart so they don’t stick together. The parchment paper will make it easy to remove the mints once they’ve set.
Chill the mints: Refrigerate the mints for at least 1 hour to allow them to firm up. This step is crucial because the mints need to be cold and solid before dipping into the chocolate, which helps prevent them from melting and ensures the chocolate coating sets properly.
Melt the white chocolate: In a microwave-safe bowl, combine the white chocolate chips and coconut oil. Microwave the mixture in 30-second intervals, stirring in between, until the chocolate is completely melted and smooth. The coconut oil helps to thin the chocolate and give it a glossy finish. Once melted, you can add a few drops of green food coloring to the white chocolate if you’d like to give your mints that signature green hue. Stir gently to incorporate the color.
Dip in white chocolate: Once the mints have firmed up in the refrigerator, take each peppermint rectangle and dip it halfway into the melted white chocolate. Hold the mint by one end and dip the other half into the chocolate, then gently lift it out and allow any excess chocolate to drip off. Place the dipped mints back onto the parchment paper. Repeat this process for all the mints. The white chocolate will create a smooth, creamy coating on one side of the mint.
Melt the semi-sweet chocolate: In a separate microwave-safe bowl, melt the semi-sweet chocolate chips with the coconut oil in the same manner as the white chocolate. Stir the mixture every 30 seconds until it is smooth and fully melted. The coconut oil will ensure that the semi-sweet chocolate has a smooth consistency for dipping.
Dip in semi-sweet chocolate: After the white chocolate layer has set, take each mint and dip the other half into the melted semi-sweet chocolate. Gently press to create a layered effect, allowing the chocolates to overlap slightly at the center. This dual-chocolate coating creates the signature Andes mint look and enhances the flavor by combining the richness of semi-sweet chocolate with the creamy white chocolate.
Chill to set: Once all the mints have been dipped in both chocolates, place them back on the parchment-lined baking sheet and return them to the refrigerator to set. Allow the mints to chill for at least 30 minutes or until completely firm. The chocolate layers will harden, and your mints will be ready to serve!
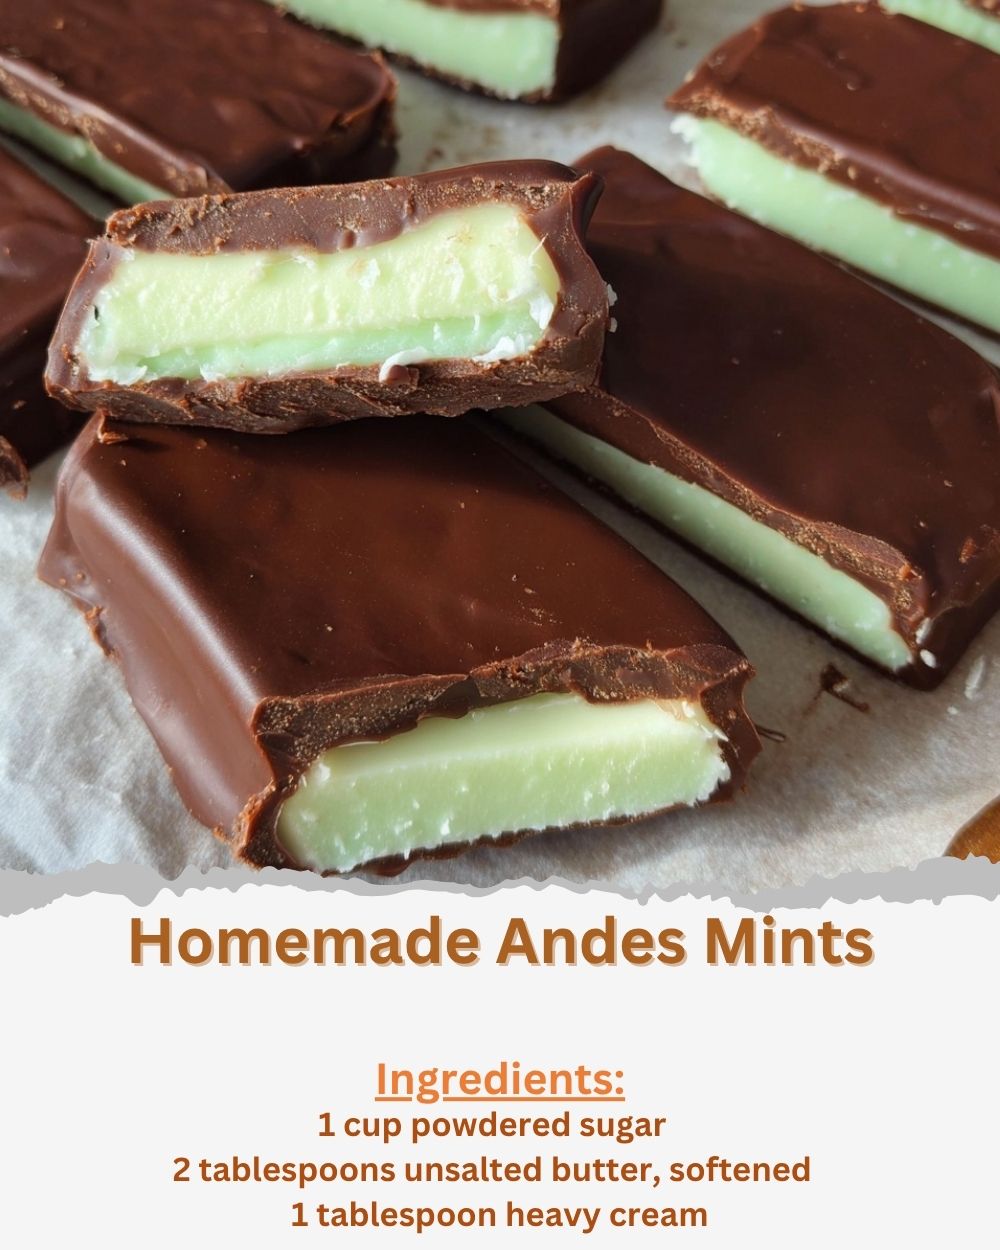
Serve and enjoy: Once the mints are fully set and firm, remove them from the parchment paper and serve. These Homemade Andes Mints are perfect for a sweet after-dinner treat or as a thoughtful homemade gift. Enjoy the rich, minty flavor with the perfect balance of creamy white chocolate and dark semi-sweet chocolate!