Now comes the final, and my favorite, part of Christmas cactus propagation: planting the cuttings!
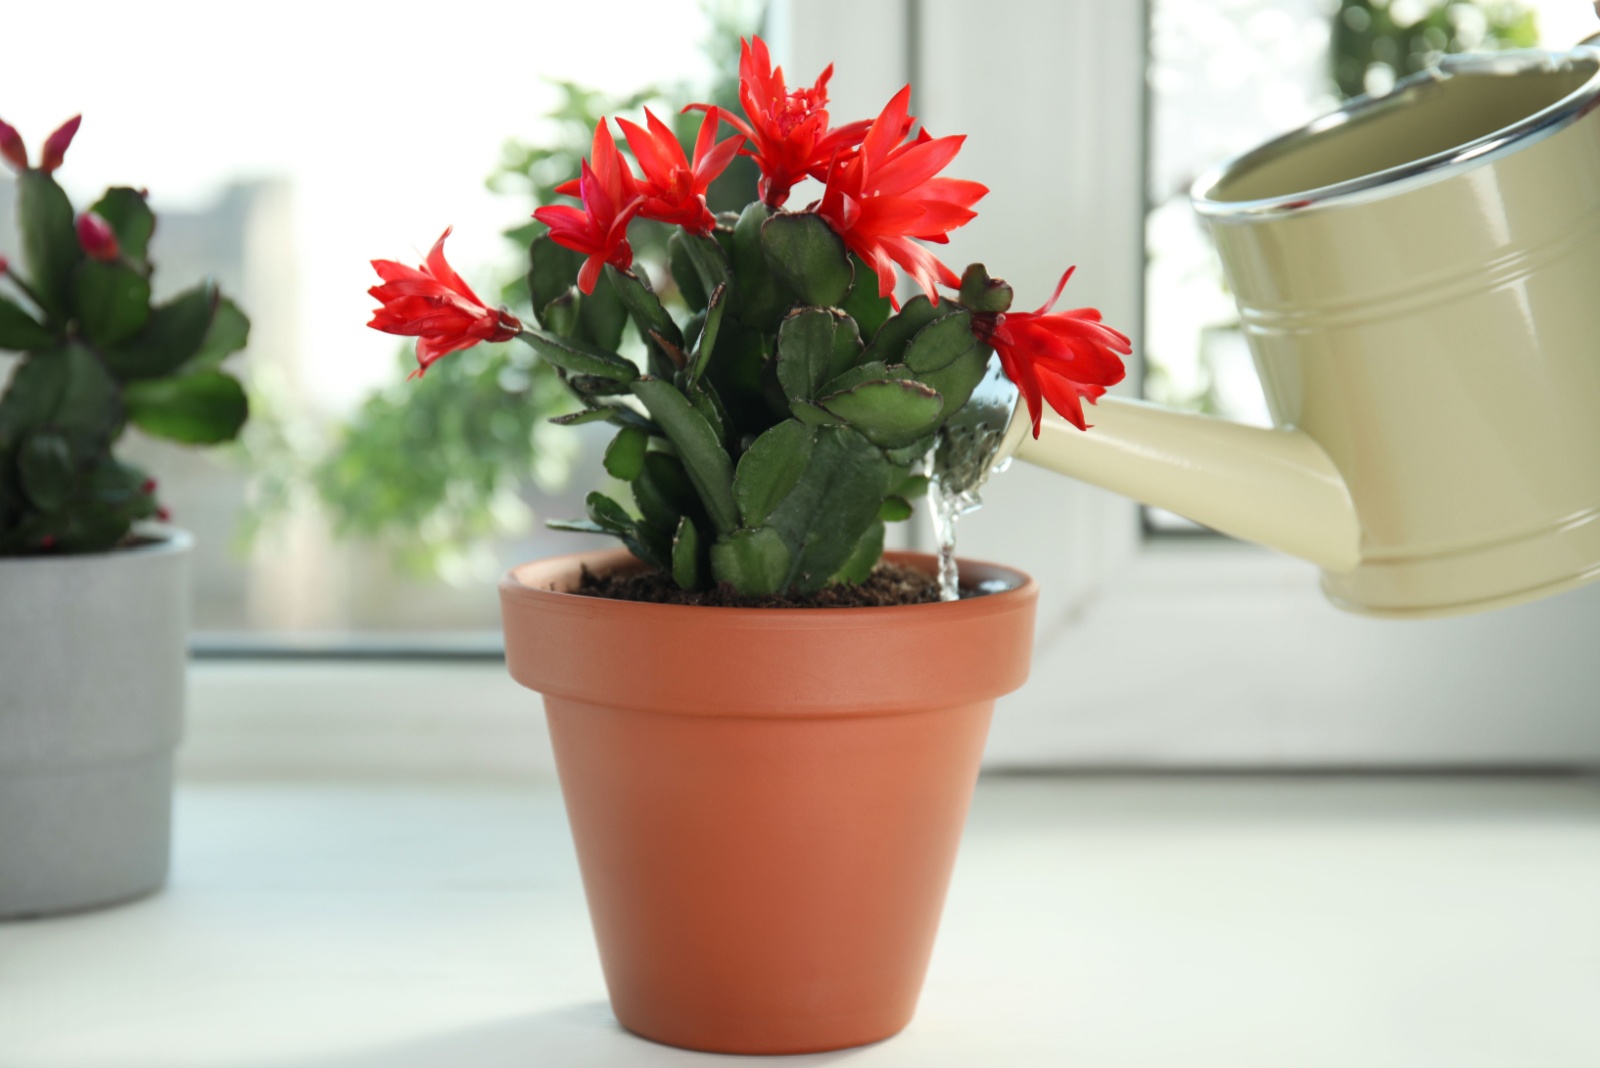
Here’s one hack: plant multiple cuttings in a single pot to get a bushy plant! Christmas cactuses you see in supermarkets are grown this way.
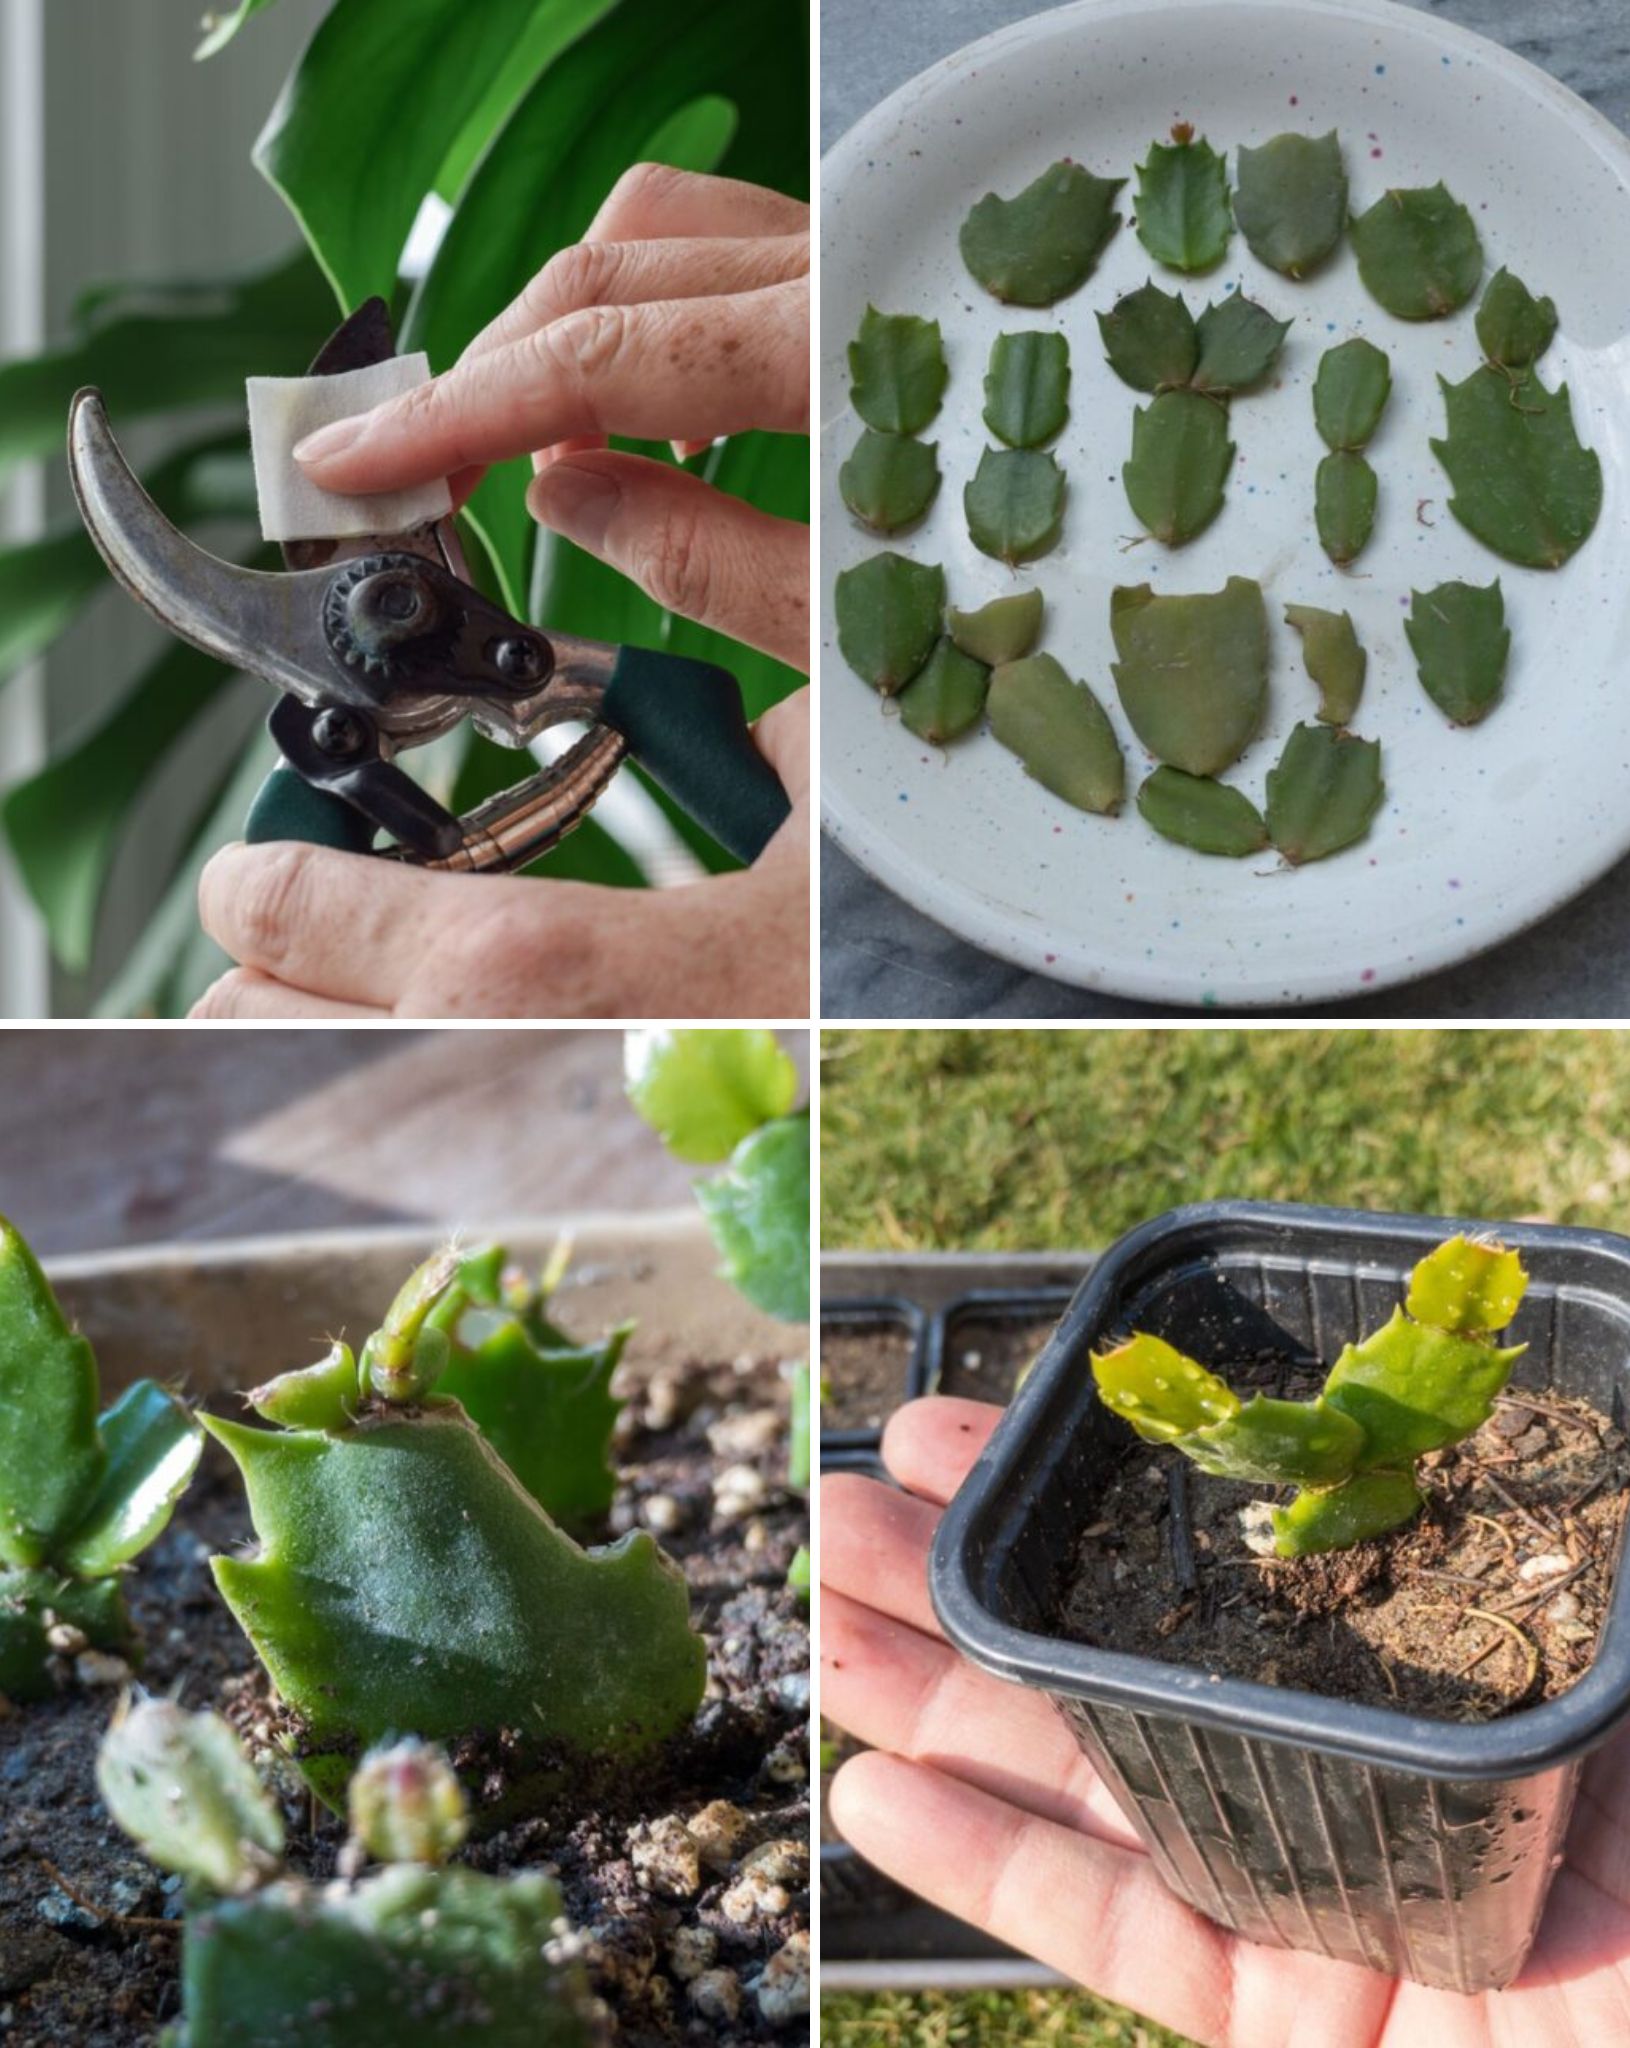
Many gardeners choose to plant one cutting per pot; there’s nothing wrong with this method but you need to wait for the cutting to develop many branches and reach its full potential.
Put each cutting into the soil and make sure there’s no more than 2 inches of soil above the node.
The next step is to find an ideal location for your Christmas cactus cuttings; make sure it’s somewhere they receive bright indirect light!
If your cuttings look wilted for the first couple of days, there’s no need to panic. Do not add water at this point because it will do more harm than good.
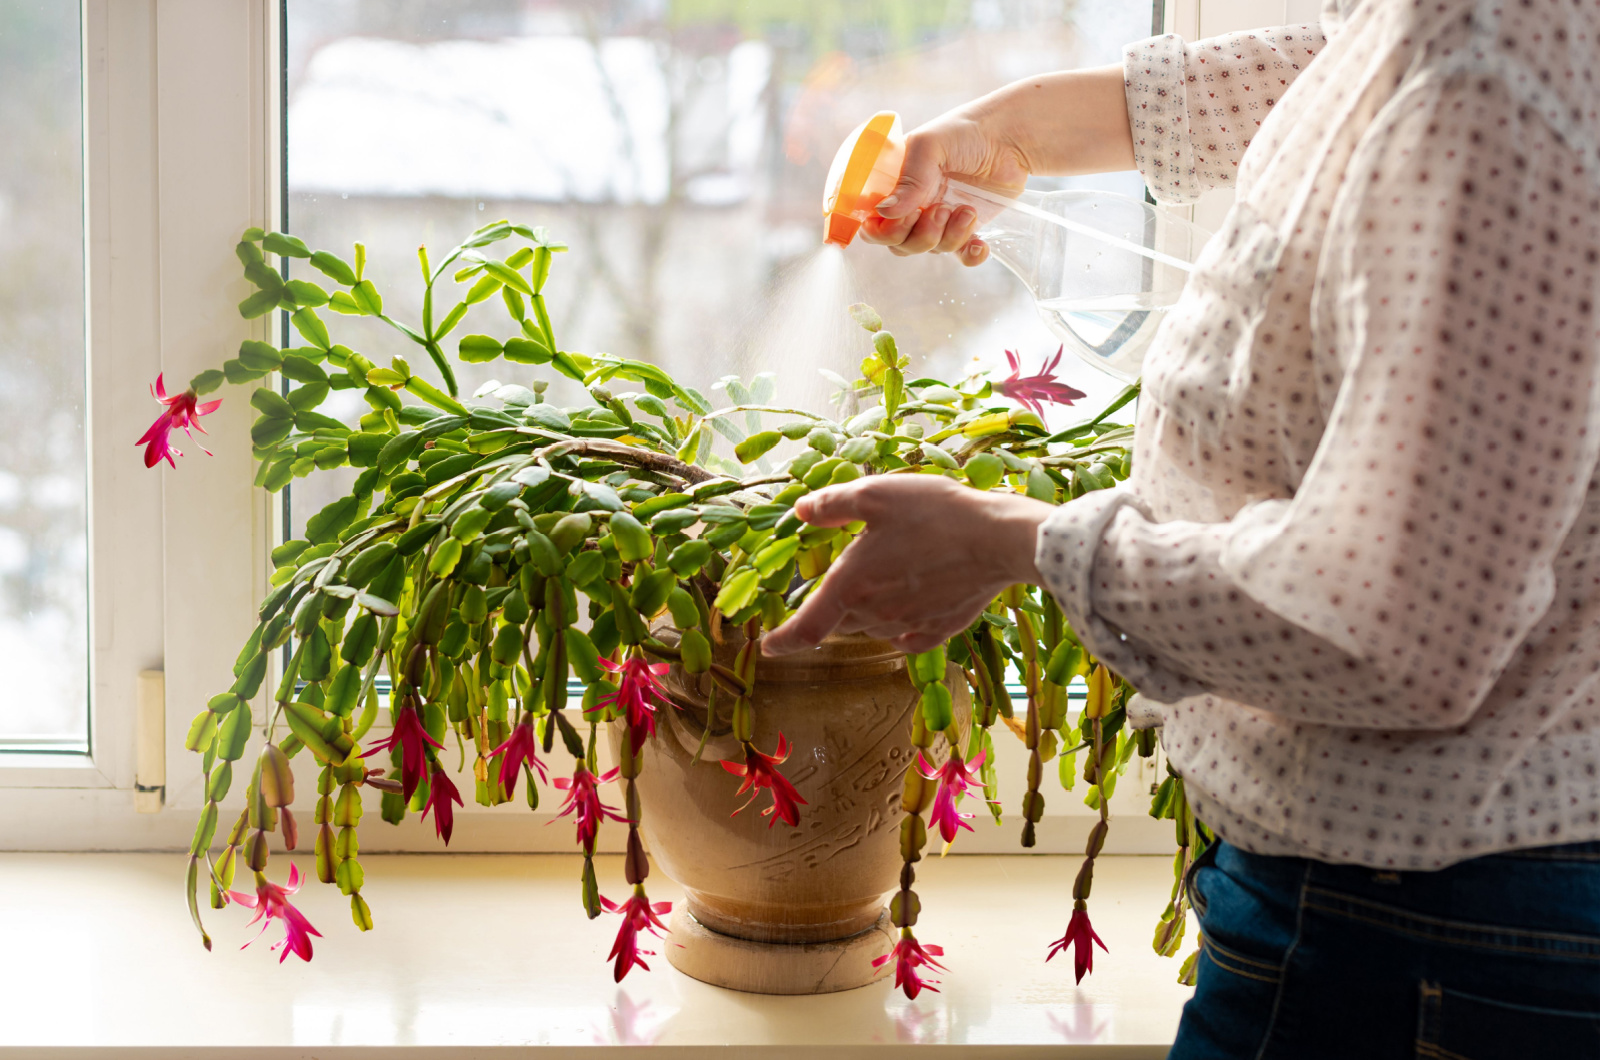
Water the cuttings only when the upper part of the soil dries out, and continue using this method even when the roots are formed.
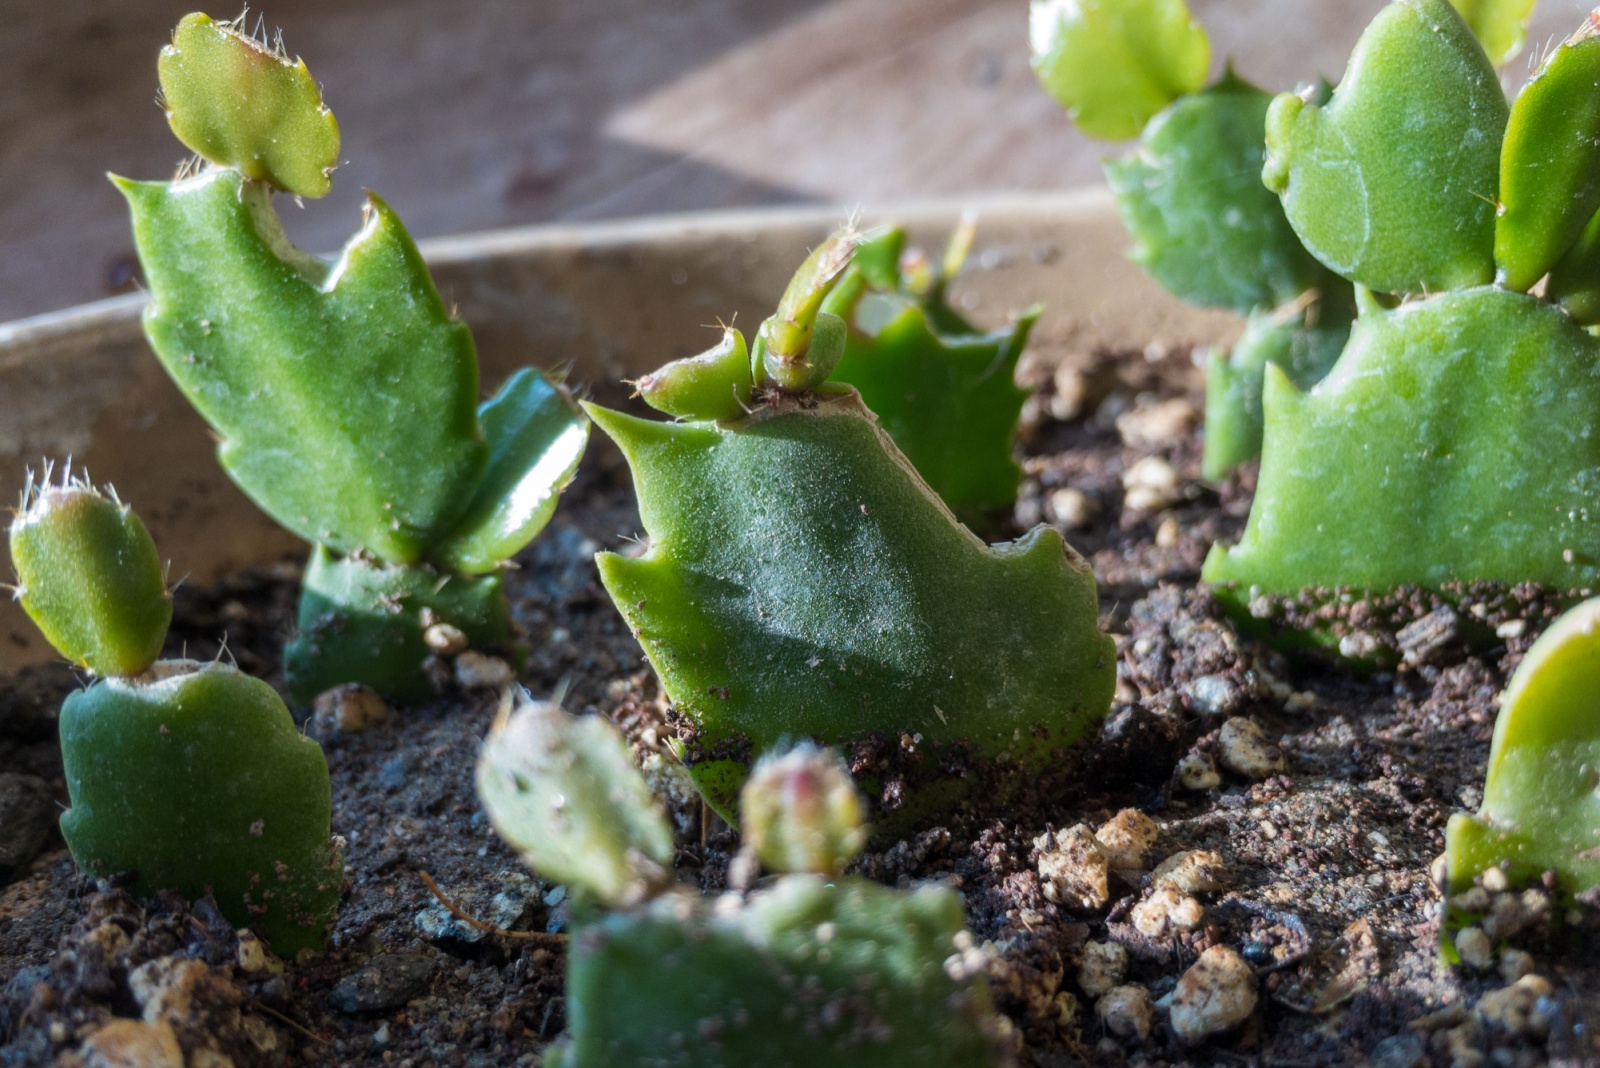
The Christmas cactus cuttings typically take 4 weeks to display new growth. Do not worry if the sections are red around the edges because this is a normal part of their life cycle.
That’s it! You’ve successfully propagated your cactus!
8. Maintain Ideal Humidity
Christmas cactus cuttings thrive in slightly humid environments.
Place a clear plastic bag over the pot to create a mini greenhouse effect, which helps maintain consistent moisture levels and encourages faster rooting.
Make sure the bag doesn’t touch the cuttings, as this can lead to damage or mold development. Use sticks or small supports to keep the bag elevated if necessary.
Additionally, remove the bag daily for a short time to allow air circulation and prevent mold growth, ensuring a healthy environment for your cuttings to flourish.
9. Monitor Growth Closely
For the first few weeks, pay close attention to the cuttings. Ensure they are not exposed to direct sunlight, as it can cause them to dry out or scorch.
Instead, provide bright but indirect light to support healthy growth. Check that the soil remains slightly moist but not soggy, as overwatering can lead to root rot.
If you notice any signs of wilting, discoloration, or shriveling, adjust the watering or light conditions accordingly.
Sometimes, reducing the frequency of watering or moving the cuttings to a slightly cooler spot can help them recover and continue thriving.
